- Remote access by Windows is only available in Japan. However, even if you are in Japan, you may be judged as being outside of Japan. Please understand.
- Remote Desktop Connection (RDP Connection)” is not available for remote connection to The Zengaku Computer System.
- Remarks
- Using Windows Desktop on the Zengaku Computer System
- Table of connection methods
- On Web browser (HTML5)
- With Omnissa Horizon Client (formerly VMware Horizon Client)
- Using Linux Desktop on the Zengaku Computer System
- Using UNIX shell on the Zengaku Computer System (SSH Access)
1. Remarks
- About software
Depending on the license, available software may be different from satellite terminals.See Software Information for datails. - Old client may not work
From Mac OS please use connection on Web browser or something. - Automatical log-out after 2 hours
In order to avoid occupation by a small number of users, for Windows desktop and Linux desktop, it automatically signs out / logs out after 2 hours from the time connection started. As it compulsorily signs out / logs out even during operation, please keep it in mind. - Regular restart of remote desktop servers
In order to operate the system stably, the servers for using the Windows desktop are regularly restarted. Restarts occur every day at 6:00 and 6:30, with staggered timing for each server. If the user is signed in at this point, it will not be restarted. Also, because the restart timing is different for each server, the user is not affected by the restart even when the user newly logs in. - Regarding being judged as being in another country even though you are in Japan
The database that manages the relationship between IP addresses and countries used by the firewall installed at the University of Tsukuba is used to determine whether your connection is to Japan or not.
When the organization to which the IP address is assigned changes, this database is also updated, but it may not be reflected immediately. As a result, judgments may be incorrect.
The University of Tsukuba is unable to correct this database. We appreciate your understanding and cooperation.
2. Using Windows Desktop on the Zengaku Computer System
2-1. Table of connection methods
| Connection Method | HTML5 | Omnissa Horizon Client (formerly VMware Horizon Client) |
|---|---|---|
| Client Environment | Windows, Mac, Linux, iOS, Android | |
| Required Tool | Web browser | Download Omnissa Horizon Client from the Omnissa site |
| Connecting to Server | Access to the URL | Access to the URL with Web browser, or launch Omnissa Horizon Client and enter the server name view-con00.u.tsukuba.ac.jp directly |
| User Name | Not to include @u or later | |
| Copy & paste between local ⟷ remote | The menu appears by clicking on the center left tab | Possible |
| File transfer between local ⟷ remote | The menu appears by clicking on the center left tab | Possible if you allow access in the settings in advance |
| Printing from a local printer | Possible | Possible |
| Remarks | ||
2-2. On Web browser (HTML5)
[Connecting]
- Access the following URL:
https://view-con00.u.tsukuba.ac.jpClick “OK” when the following page appears.
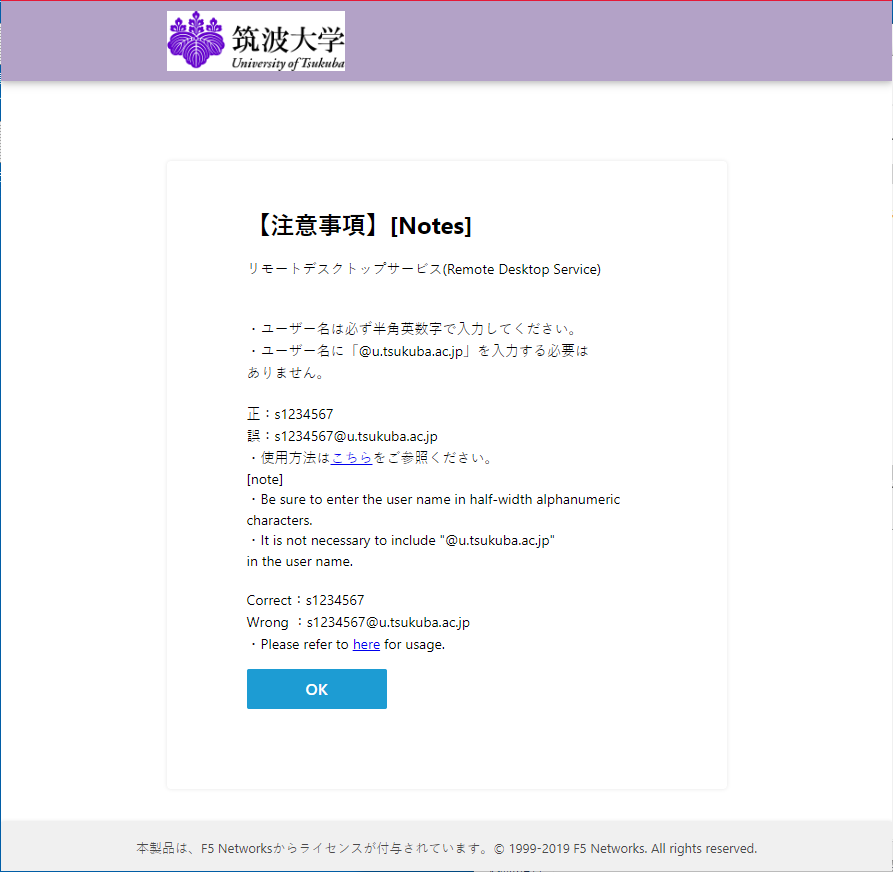
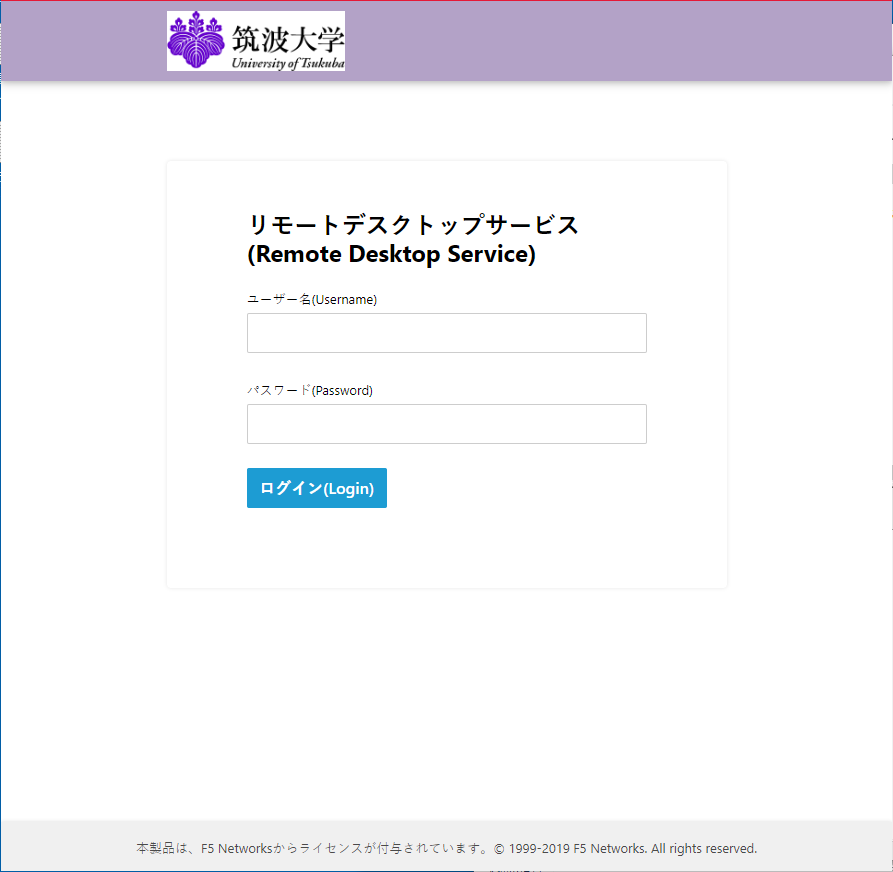
* Please refer to the this Web site for supported browsers. - Input your username (ユーザー名) and password (パスワード) and click on the “Log-on (ログオン)” button. For user name and passwords, please refer to “Login Credentials“.
- As an icon “Remote Desktop Service (リモートデスクトップサービス)” or “WEB Print (WEBプリント)” will appear, click on “Remote Desktop Service (リモートデスクトップサービス)”. The image below is loading. Click on the “Remote Desktop Service” icon after it turns dark green.
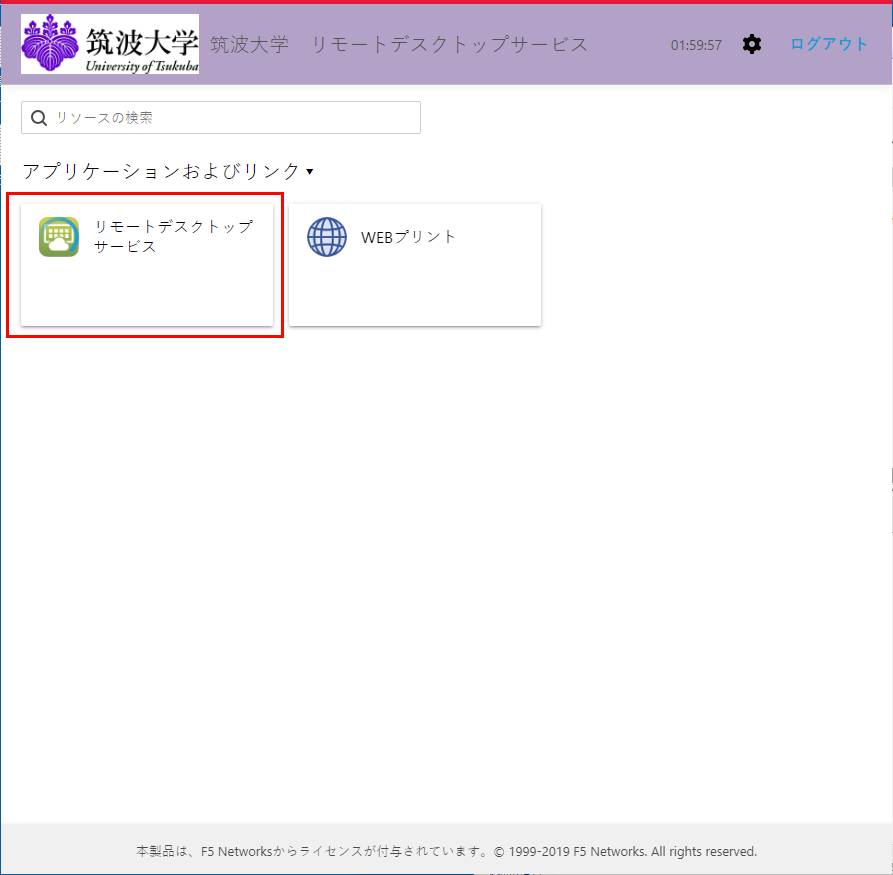
- A client selection dialog may appear. Select “HTML5” and click “OK”.
- Connection will establish.
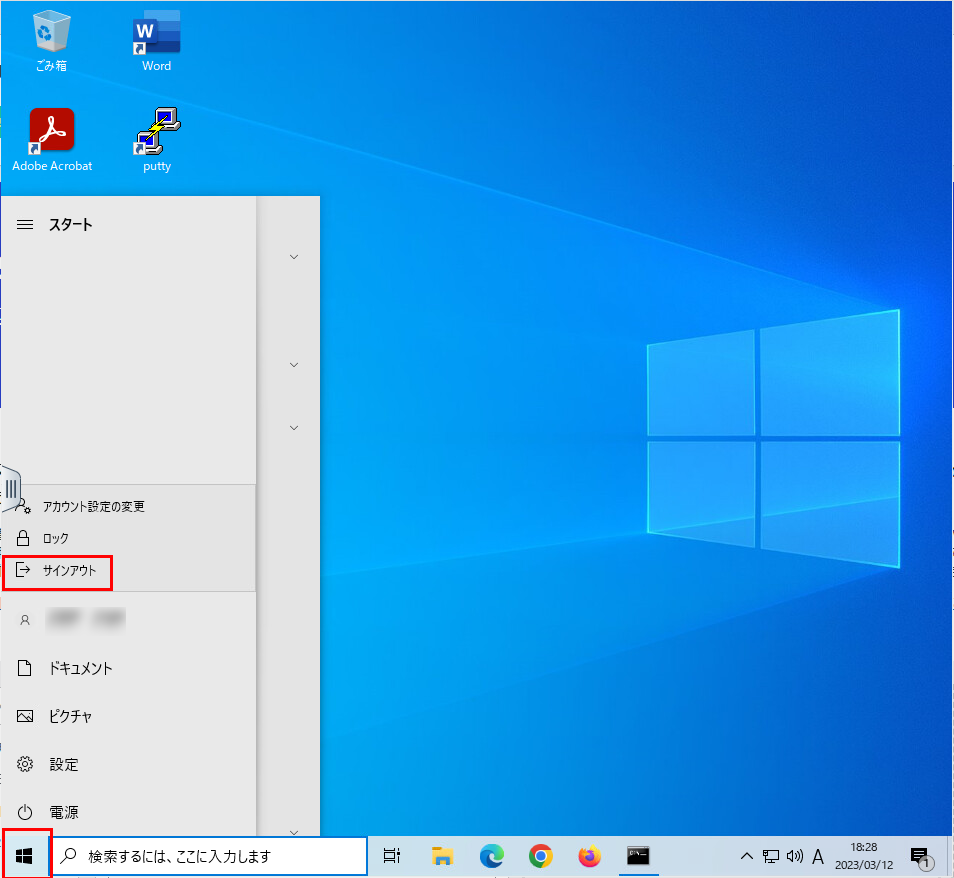
- To sign out, click on the “Start” button (the button with the Windows logo), move the mouse up and click on the user name that appears, and select “Sign Out(サインアウト)” that appears.
[Copy & Paste strings]
You can copy and paste without any special settings.
For connections using HTML5, this feature may not work in some environments, such as browsers. In such cases, please use Omnissa Horizon Client.
[File Transfer]
- If you want to transfer files between the local client and the remote desktop after connecting on the browser, click on the center left tab and click on the second button from the left in the upper part inside the tab to open the “Transfer Files (ファイル転送)” panel.
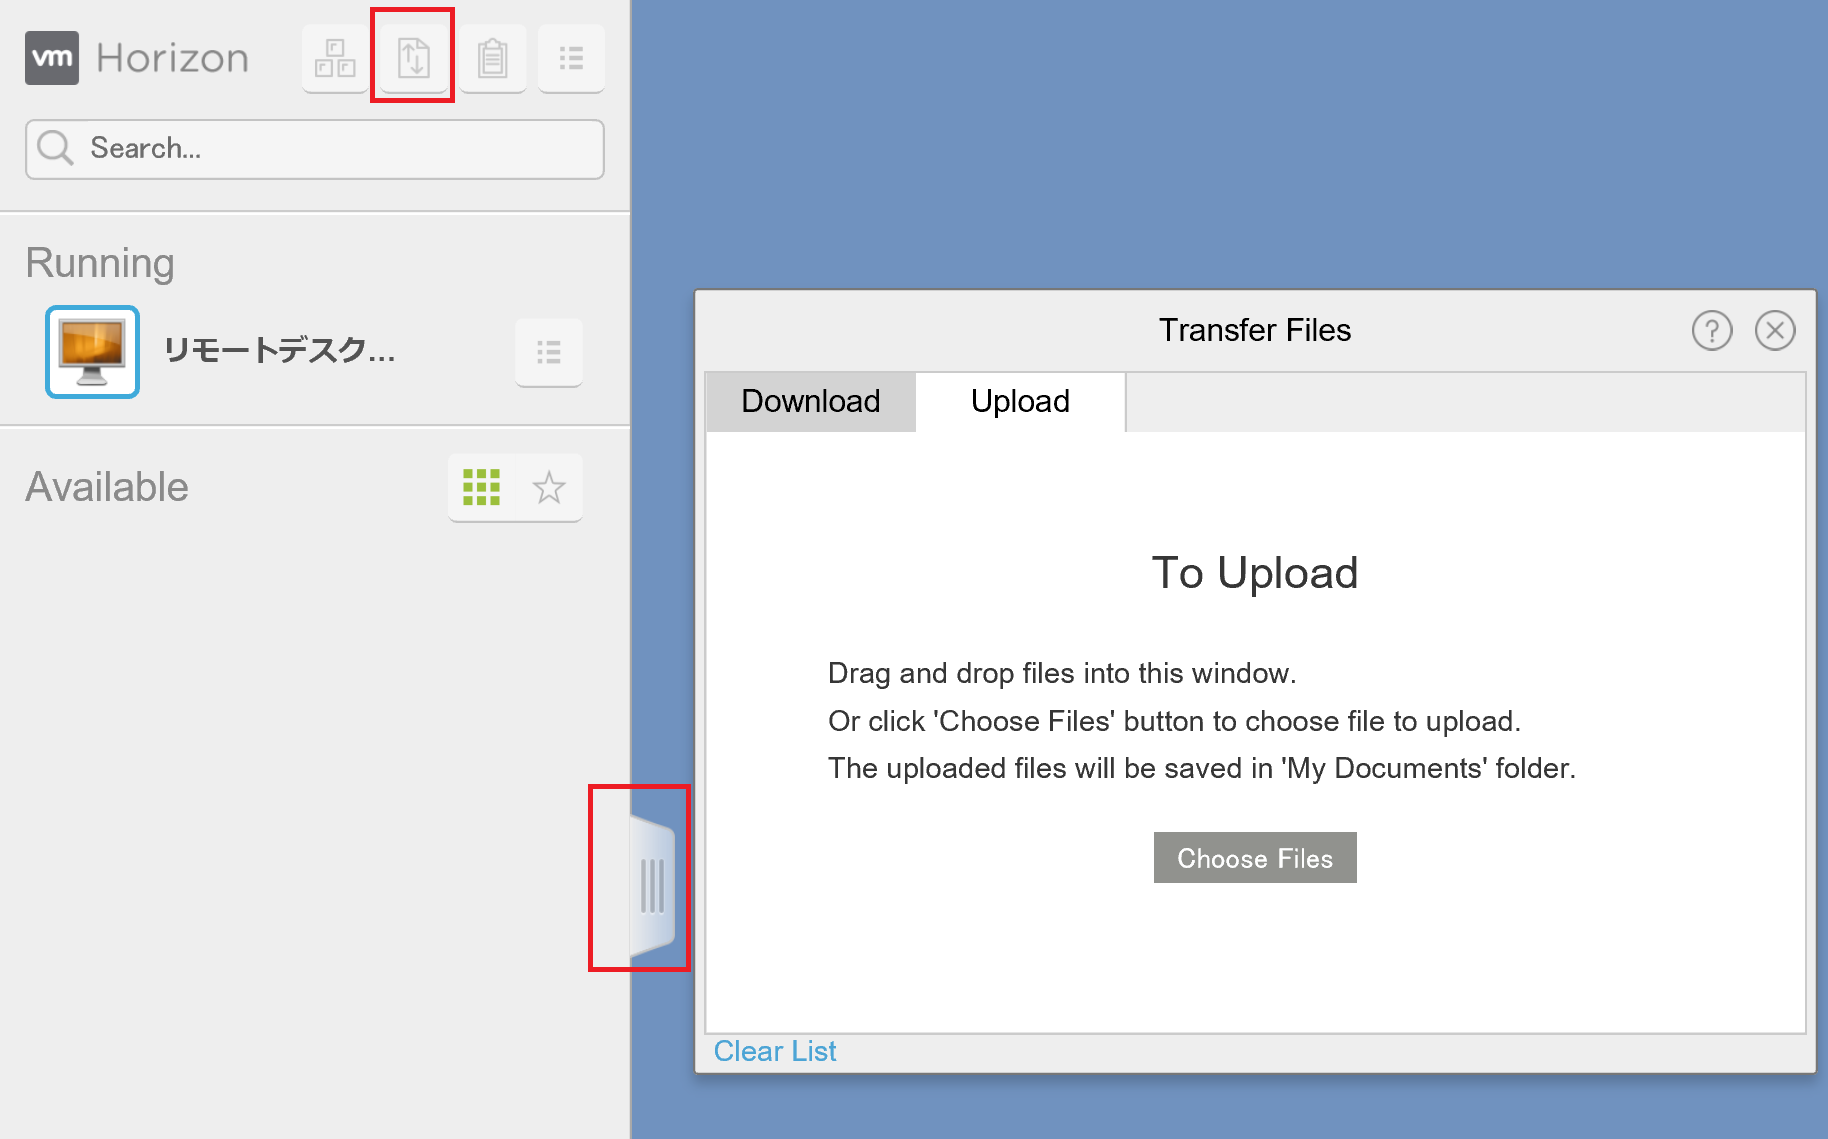
- Uploading from the local client to the remote desktop:
- Select the “Upload (アップロード)” tab in the “Transfer Files (ファイル転送)” panel, and drag & drop (or select by clicking on the “Choose Files (ファイルの選択)” button) the local file.
- After uploading, the file will be saved in the “Documents (ドキュメント)” folder. Launch Windows Explorer on the remote desktop, open Z: drive, and check the “Documents (ドキュメント)” folder in it.
- Downloading from the remote desktop to the local client:
- Select the “Download (ダウンロード)” tab in the “Transfer Files (ファイル転送)” panel, select the file, and press Ctrl+C.
- After confirming that the file is listed in the panel, click on the download button on the right and save it in local “Download” folder.
- Please note that folders and zero size files are not allowed for neither uploading nor downloading.
For connections using HTML5, this feature may not work in some environments, such as browsers. In such cases, please use Omnissa Horizon Client.
2-3. With Omnissa Horizon Client (formerly VMware Horizon Client)
[Connecting]
This is the procedure for using the Windows environment of The Zengaku Computer System with Omnissa Horizon Client (formerly VMware Horizon Client).
The following is a description of the Windows case.
*Information as of March 2025.
- Download Omnissa Horizon Client
- Download the installer for the OS you wish to use from the Omnissa website.
Download site: Download Omnissa Horizon Clients
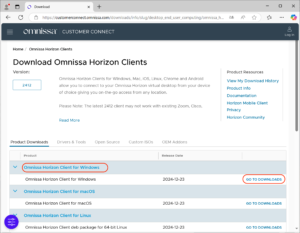
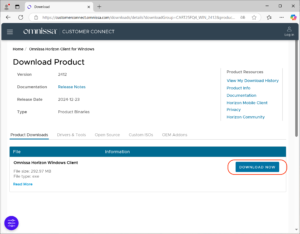
- Download the installer for the OS you wish to use from the Omnissa website.
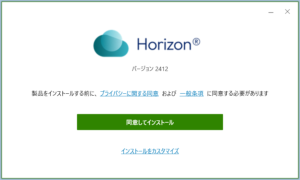
- Install Omnissa Horizon Client
- Run the downloaded installer to install.

- Click “Agree & Install”(“同意してインストール”).
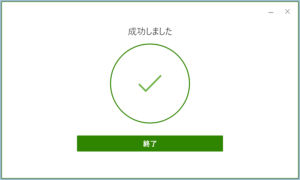
- Click “Finish”(“終了”).
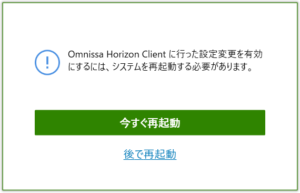
- Click “Restart”(“今すぐ再起動”) on the pop-up screen to restart your PC.
- Run the downloaded installer to install.
- Connect to Remote Desktop
- Start the installed Omnissa Horizon Client.
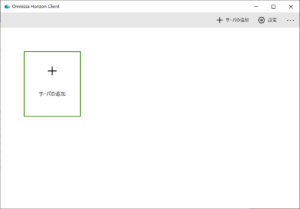
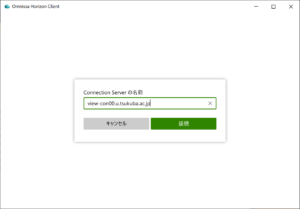
- Click “Add Server”(“サーバの追加)”.
- Specify “view-con00.u.tsukuba.ac.jp” as Connection Server, and click “Connect”(“接続”).
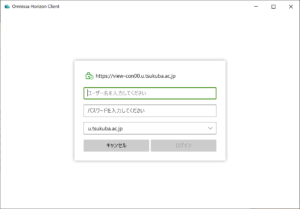
- Enter “User Name”(“ユーザ名”) and “Password”(“パスワード”) to login. For user name and passwords, please refer to “Login Credentials“.
- Click Server to start the remote desktop.
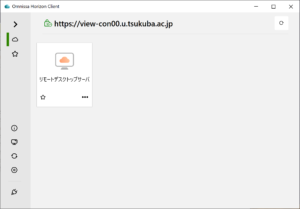
- Connection will establish.
- Start the installed Omnissa Horizon Client.
[Copy & Paste]
You can copy and paste without any special settings.
3. Using Linux Desktop on the Zengaku Computer System
This is the procedure for using the Linux environment of The Zengaku Computer System with VNC Viewer..
The following is a description of the Windows case.
*Information as of March 2025.
3-1. With VNC Vewer
[Connecting]
- Download a VNC Viewer
- Download a VNC Viewer installer suitable for your environment.
Download site: Download RealVNC Server and Viewer
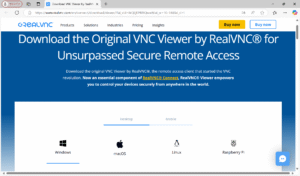
- Download a VNC Viewer installer suitable for your environment.
- Install VNC Viewer
- Launch the installer.
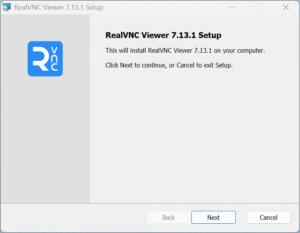
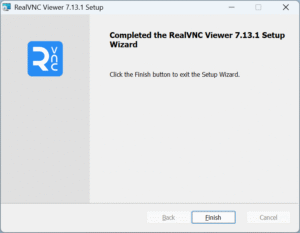
- Launch the installer.
- Connect to Remote Desktop
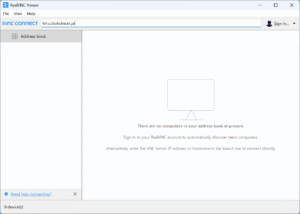
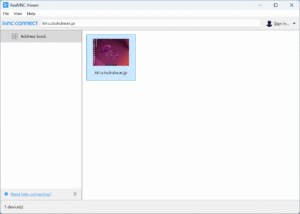
- Launch the VNC Viewer.
- Enter kiri.u.tsukuba.ac.jp in the search bar..
- If this is the first time, a warning as follows appears. Click on [Continue].
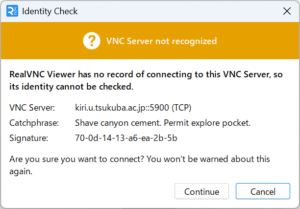 *The Catchphrase and the Signature are like watchword when connecting next time, and if this is different from the one at the last connection, a warning appears since there is a possibility of man-in-the-middle attack.
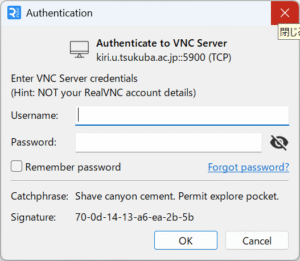
 - Enter your user name and password and select [OK]. For user name and passwords, please refer to “Login Credentials“. Please decide at your own risk whether to check on “Remember password”.
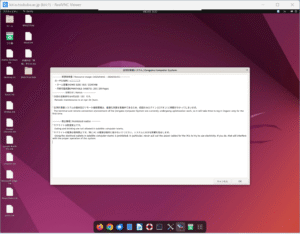
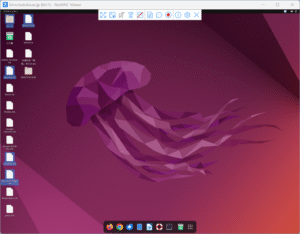
- Connection established.
- To end the session, disconnect with the operation of the VNC Viewer side. Simply close the window, or, click on the cross at the right end of the menu in the middle of the upper part of the screen as shown below.
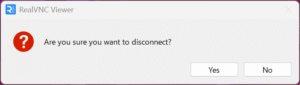
When you disconnect, the last screen will be displayed as thumbnail on the VNC Viewer, but be aware that the session is not stored.
- Launch the VNC Viewer.
4. Using UNIX shell on the Zengaku Computer System (SSH Access)
SSH connections to the Linux server require public key authentication from outside our university.
[Connecting]
Using an SSH client, connect to either of
icho01.u.tsukuba.ac.jp:22
icho02.u.tsukuba.ac.jp:22
kiri.u.tsukuba.ac.jp:22
If you are from off-campus, you need to use VPN Service or log in with public-key authentication.
When logging in for the first time, possibly a confirmation message as to whether to trust the server is displayed since the host key of the server is not cached. In that case, check the fingerprint of the key displayed in the message and the fingerprint below to make sure if you are connected to the correct server.
Fingerprint:
[icho01]
-
ECDSA
MD5: 7c:ae:67:db:74:6d:72:45:7b:9f:2c:a1:d4:85:26:cf
SHA256: E7UZuceaaM7ZUN4fJOXAHnLhpHDvocBZRmAHGAra65g -
ED25519
MD5: d7:84:c3:56:03:bd:c1:24:ec:92:1b:fb:c0:4a:f1:8f
SHA256: og23EtY0KnB7hu6OBp76JRzrn8CMs7gcqEpHgVPAybw -
RSA
MD5: eb:01:87:b5:50:17:ee:97:5e:be:58:89:11:20:de:43
SHA256: 9NyvCIpHnSE5O8awJ1AEOcgAhhx/YCNit+BRgz4LNrM
[icho02]
-
ECDSA
MD5:1c:e9:60:5a:b8:b7:a2:11:96:c8:8a:34:78:5e:a2:a6
SHA256:rmdTvuWQrThMl925R80Phmp+wTezeMWD+wNR9pH/KEc -
ED25519
MD5:83:f4:1e:9b:84:f9:4a:44:80:47:6a:21:54:d2:79:a5
SHA256:Ehn+BQgLrK9zDh9ESQoStWtf6O32ZWGM6puh4ihmSGU -
RSA
MD5:39:15:56:23:2b:d8:c1:fc:c2:96:1c:33:0c:14:c4:e5
SHA256:fO8STKht2gCE7dPXRWlA+cHNkzlFj1aMogKBjYentvg
[kiri]
-
ECDSA
MD5:93:0a:23:8d:c6:91:d8:d8:50:fd:ae:1d:2d:e8:7a:b9
SHA256:feFHYWm+oZBeHjPaMTZPLoIhl8nWQel/UMQbopcdBx4 -
ED25519
MD5:4f:0b:58:5f:f4:e5:c9:ab:99:89:10:5c:34:a1:cf:5c
SHA256:7vpxCY3ITRvYMg3xn8Ilud+d9V1Tnf+MBlhmPblJZbo -
RSA
MD5:4a:ea:cd:e2:da:59:70:dc:c7:39:1f:6b:37:d7:ae:32
SHA256:eGJQu0Xbt0Cv0el3hHgXoEf8DGej9DuL1uzhUIIOh1I
If you want to use X11 applications via SSH connection, please see this page.