Please check the following announcement for the latest information on this problem. Information before it became an FAQ is also available.
How to resolve the problem when authenticating Microsoft Office products on a satellite device
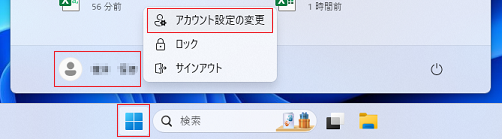
- On the Start menu, go to the user’s context menu and click on “Change Account Settings”.
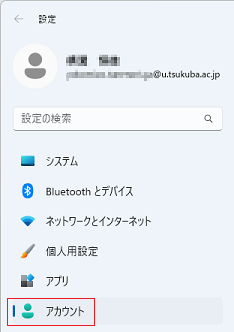
- When the “Settings” window opens, click on “Accounts”.
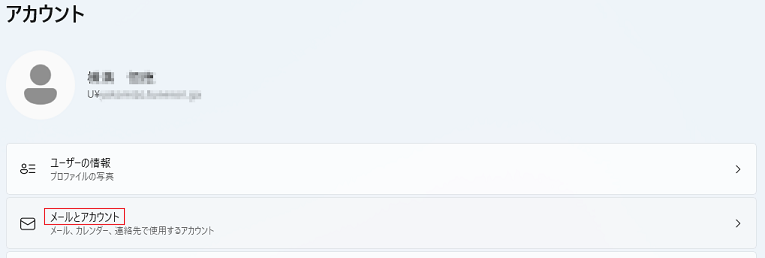
- When the “Accounts” window opens, click on “Mail and Accounts”.
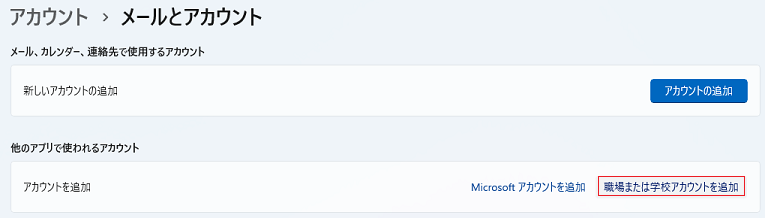
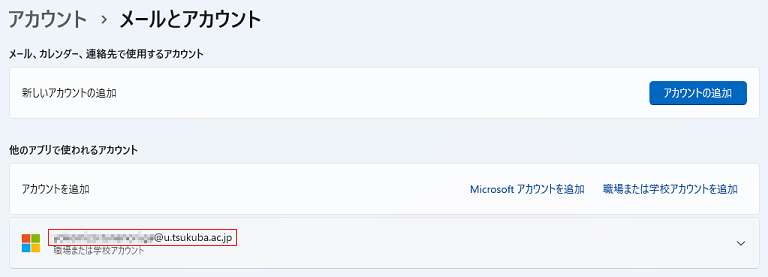
- When the “Mail and Accounts” screen opens, click “Add Work or School Account”.
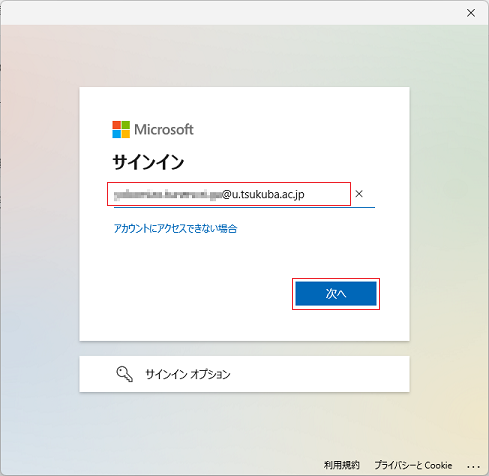
- When the “Sign In” screen opens, enter your @u email address and click “Next”.
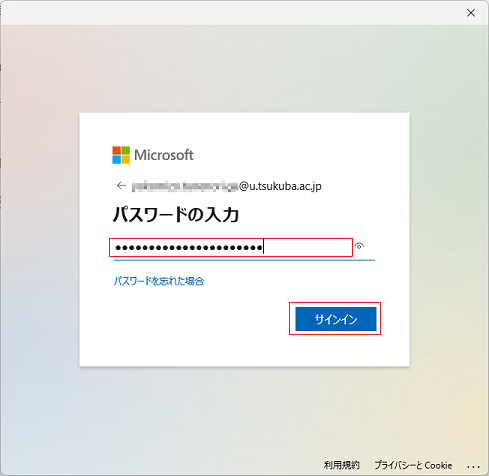
- When the “Enter Password” screen opens, enter the password associated with the email address you entered earlier and click “Sign In”.
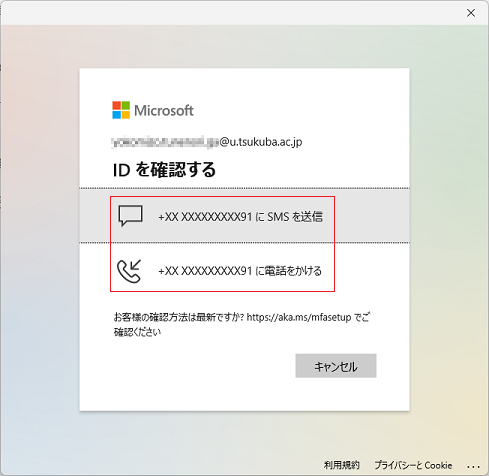
- If you have set up multi-factor authentication, the “Confirm ID” screen will appear.
If you have not set up multi-factor authentication, the screen in step 7 will not be displayed.
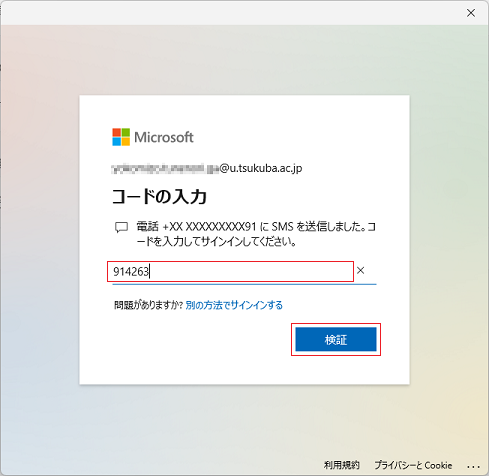
Enter the obtained code and click “Verify.
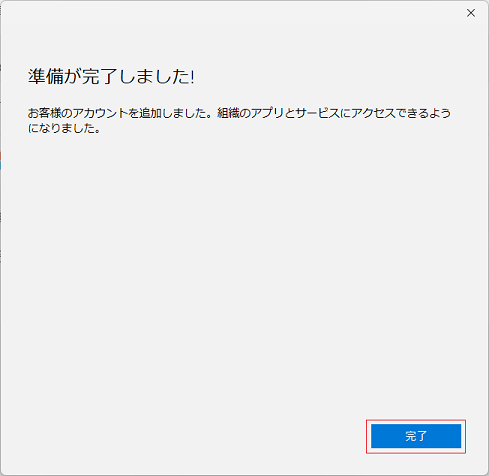
- When the policy application process proceeds and the message “Preparation is complete! is displayed, click “Done.
- When you return to the “Mail and Accounts” screen, confirm that the added account is displayed.
- Start the Office product again and perform the user authentication operation.
If the authentication wizard does not start, click the “Sign In” text displayed in the upper right corner of the Office product window.
If you are already logged in to the Office product, log out.

- When the “Sign In” window opens, enter your @u e-mail address and click “Next.
*After this, the Office product is supposed to start up without asking you for your password. If it does not work like that, there may be a problem.

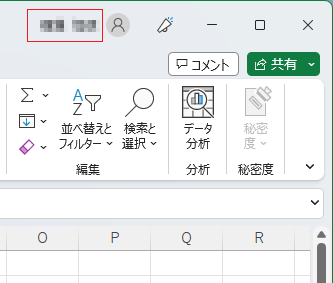
- If the Office product starts up and your account is displayed in the upper right corner of the window, authentication is complete.
The account information added in the above operation can be deleted by the following operation.
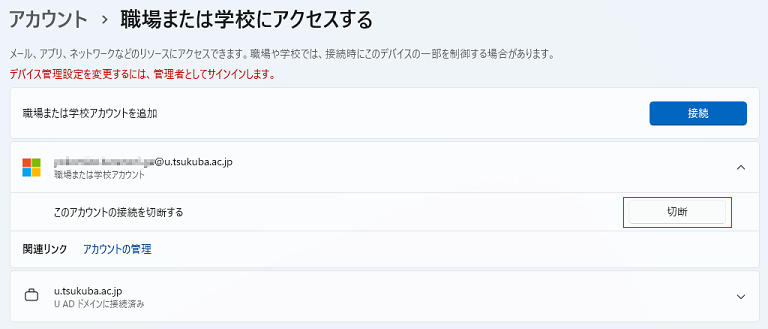
- Open the “Accounts” window and click on “Access to Work or School.

- When the “Access to Work or School” screen opens, open the account and click “Disconnect”.
*Before disconnecting, a confirmation message will be displayed, so continue if you wish to perform the operation.